

Step 01Download and install
Windows: Open this site’s download page and prefer its Windows ZIP matching your architecture. Use the official link on that page for other architectures. Extract all files to a writable folder and launch GUI.for.Clash.
Installation note: If WebView2 Runtime is missing, open the Microsoft Edge WebView2 Runtime download page, download and run the Evergreen Bootstrapper, then relaunch GUI.for.Clash after installation.
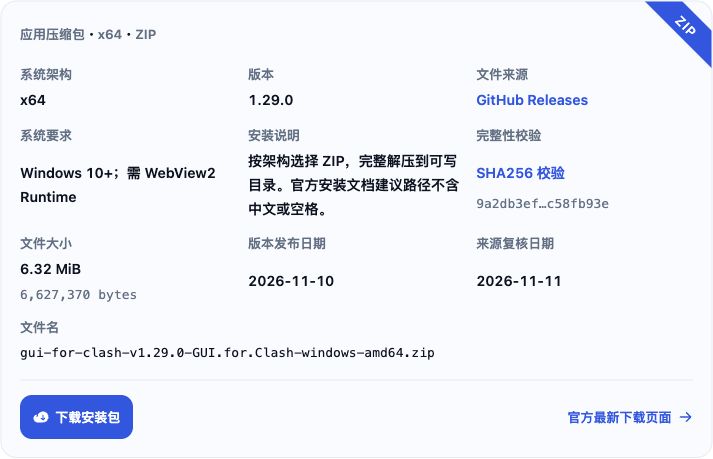
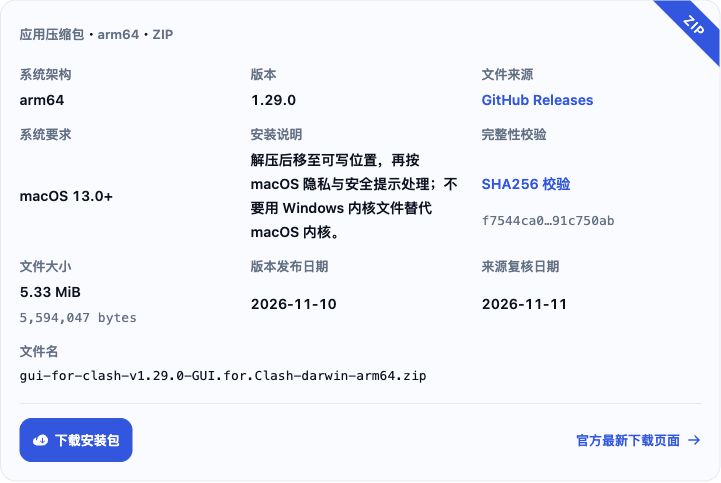
macOS: Open this site’s download page and choose the ZIP for Intel or Apple Silicon. Extract it, move the app to a writable location such as Desktop, then launch GUI.for.Clash.
Installation note: If macOS cannot verify the developer, close the prompt first. After confirming the source, open the 隐私与安全 (Privacy & Security) page in 系统设置 (System Settings), select 仍要打开 (Open Anyway), then confirm as prompted.
Step 02Update the core
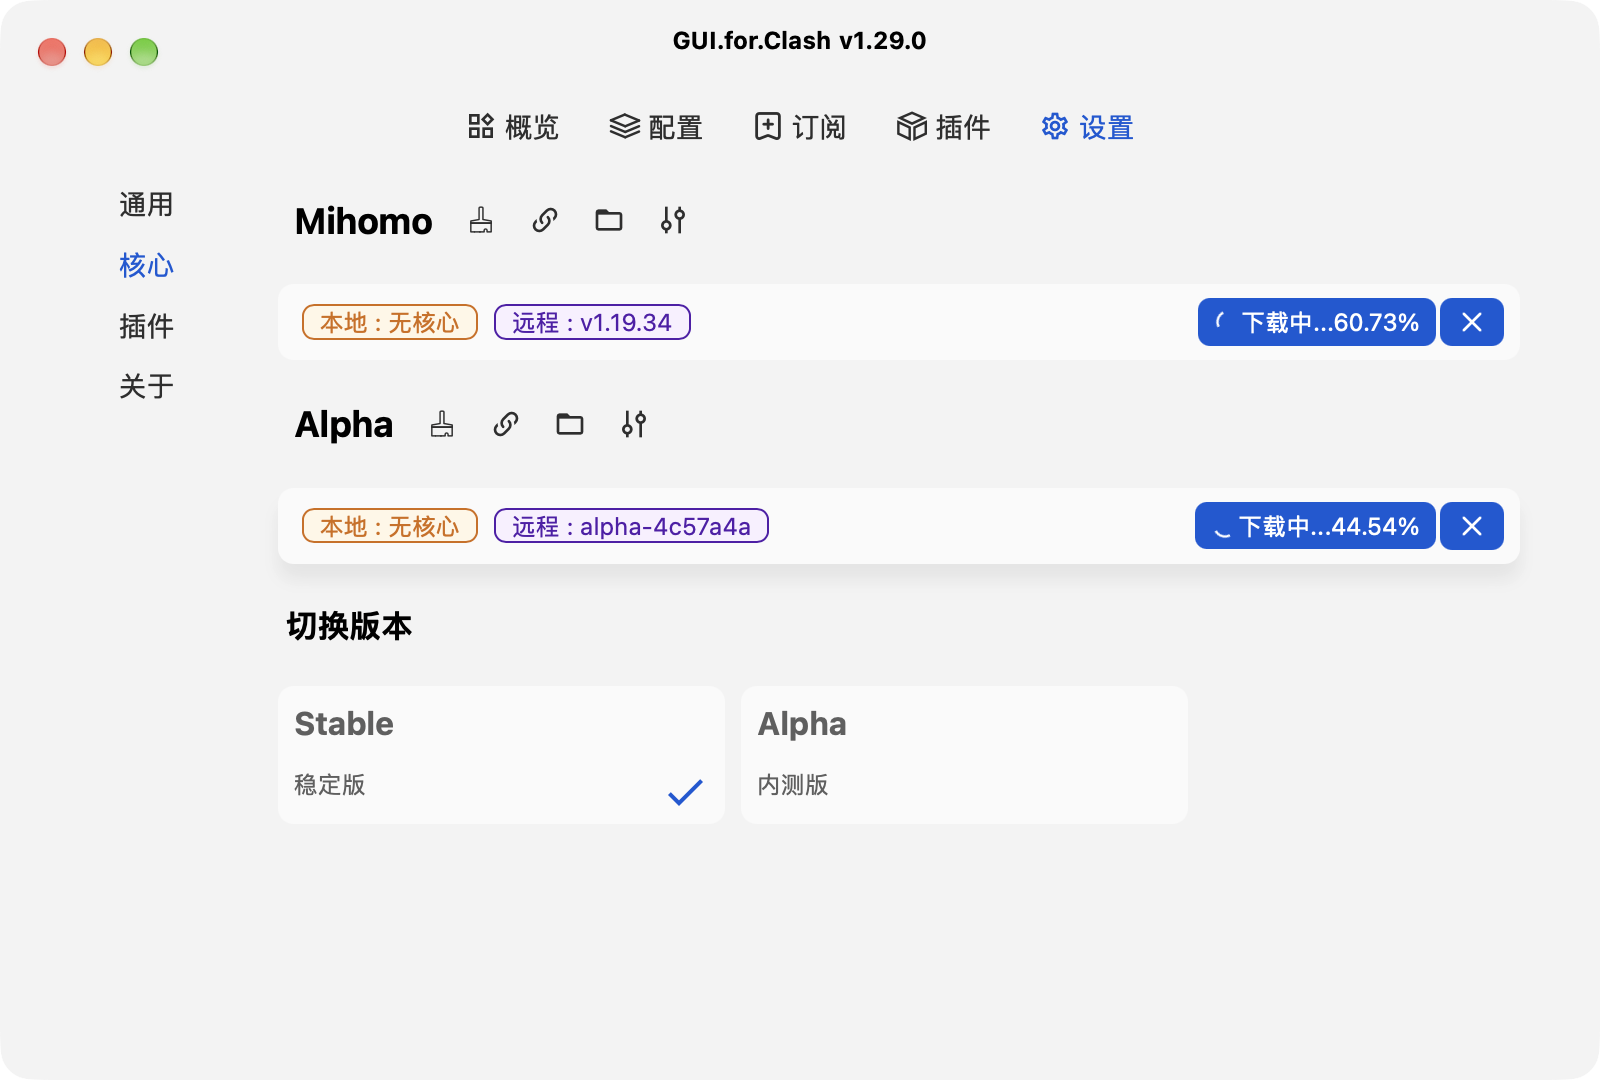
Click 设置 (Settings) → 核心 (Core). If no local core is available, click 立即更新 (Update Now). If downloading fails, check the log and network. If it still fails, follow the official usage guide to install the core manually, then restart the app.
Step 03Get a subscription
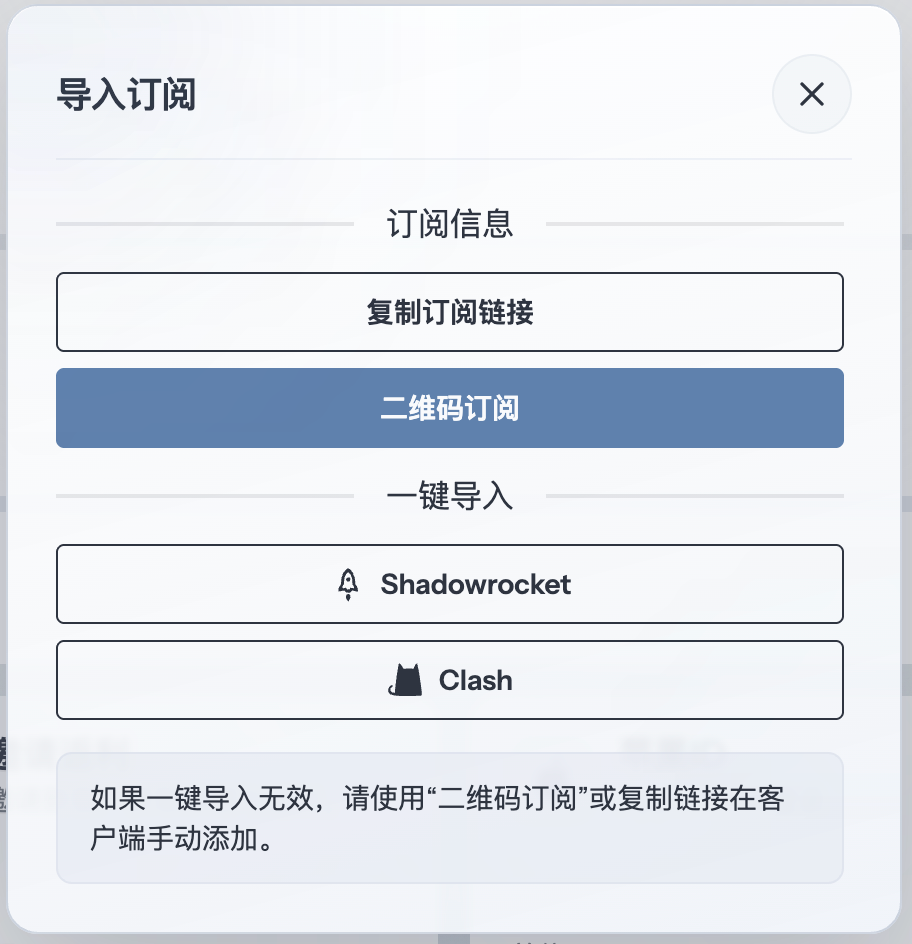
Copy the URL for a Clash/Mihomo-compatible subscription from your provider's dashboard. Using 畅连 as an example, open the subscription import window and click “复制订阅链接” (Copy subscription link).
Step 04Add a subscription
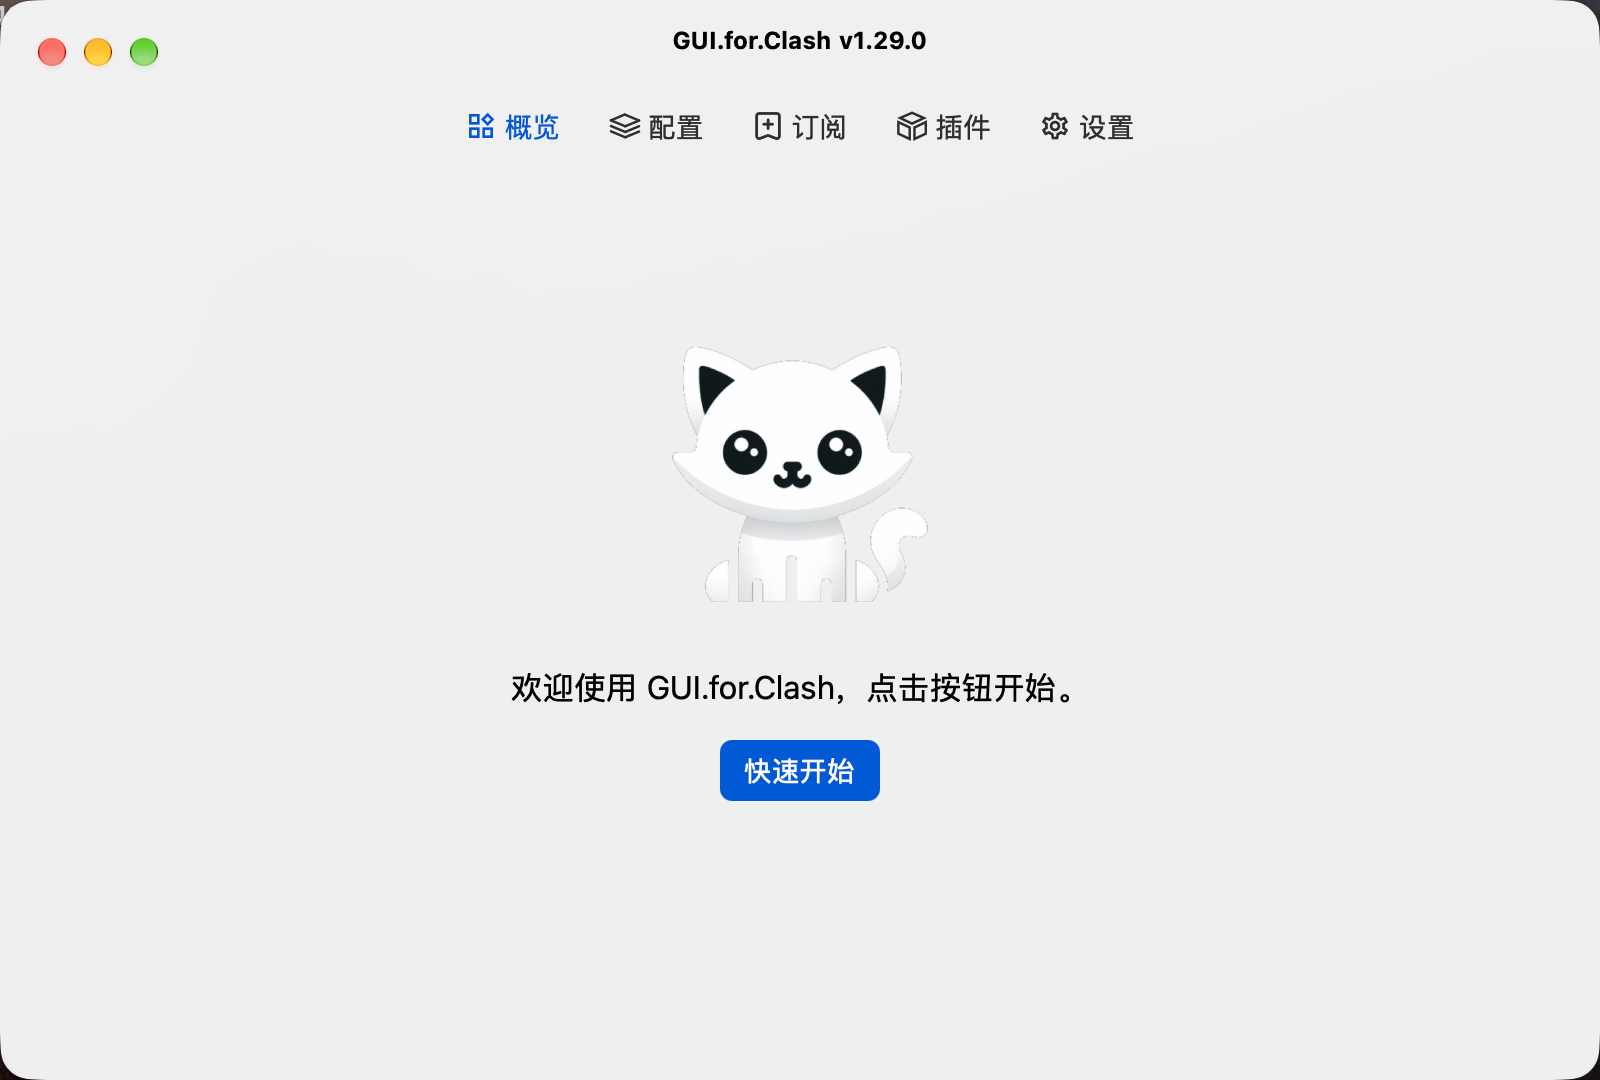
Click 概览 (Overview) → 快速开始 (Quick Start).
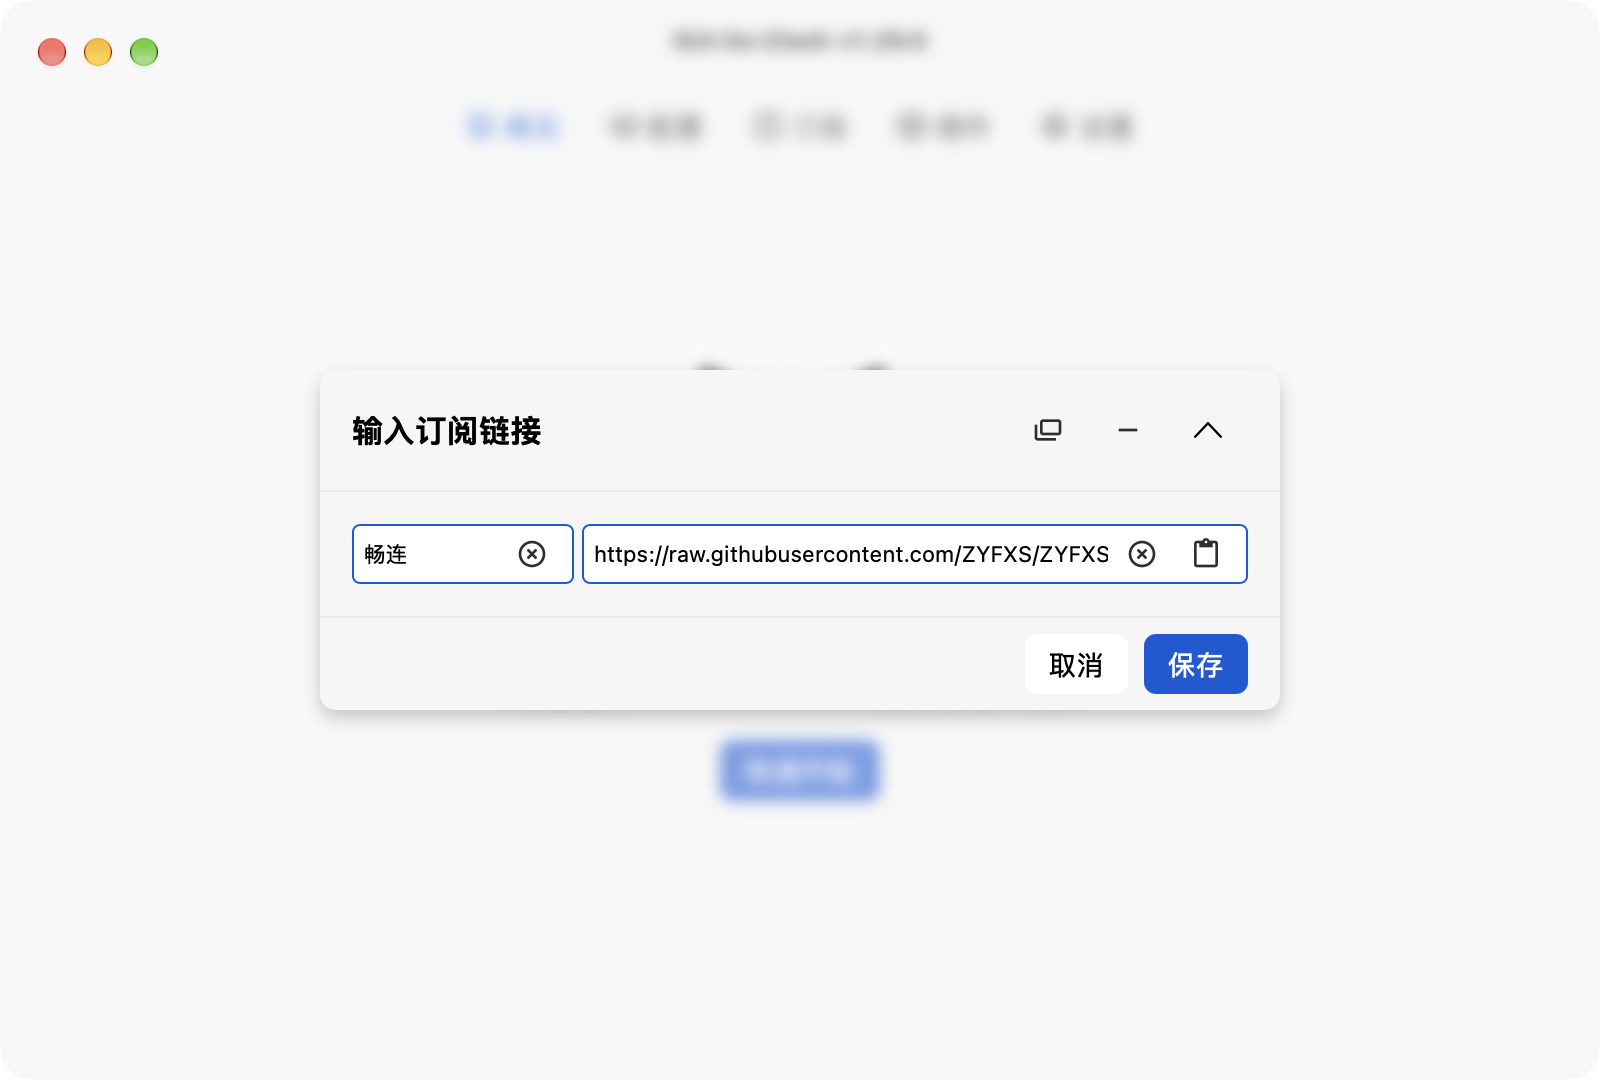
Enter a name in the left field and paste a compatible subscription URL in the right field → click 保存 (Save). The download creates a subscription and its linked profile. Return to Overview to find the profile. If it is missing, check the subscription response and download error, then retry.
Step 05Start the core
In 概览 (Overview), select the new profile → 启动核心 (Start Core).
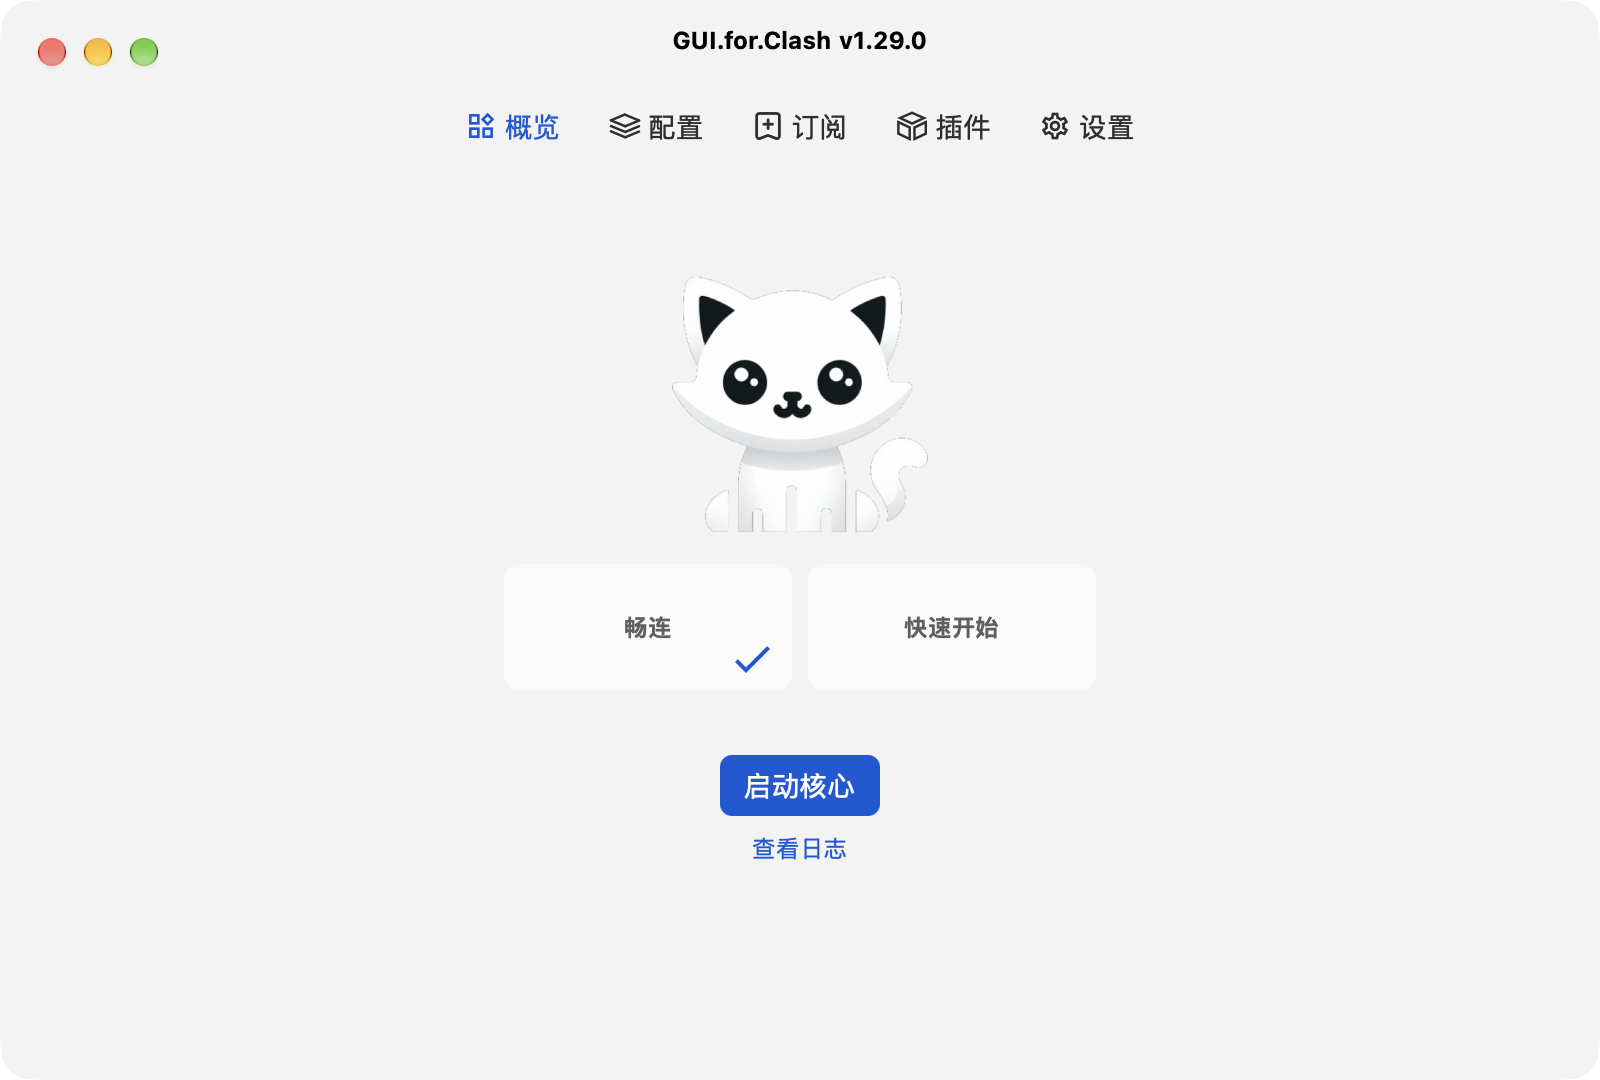
If startup fails, open the log. Check for empty groups, invalid fields or resource-download errors, fix them and start again.
Step 06Choose a node
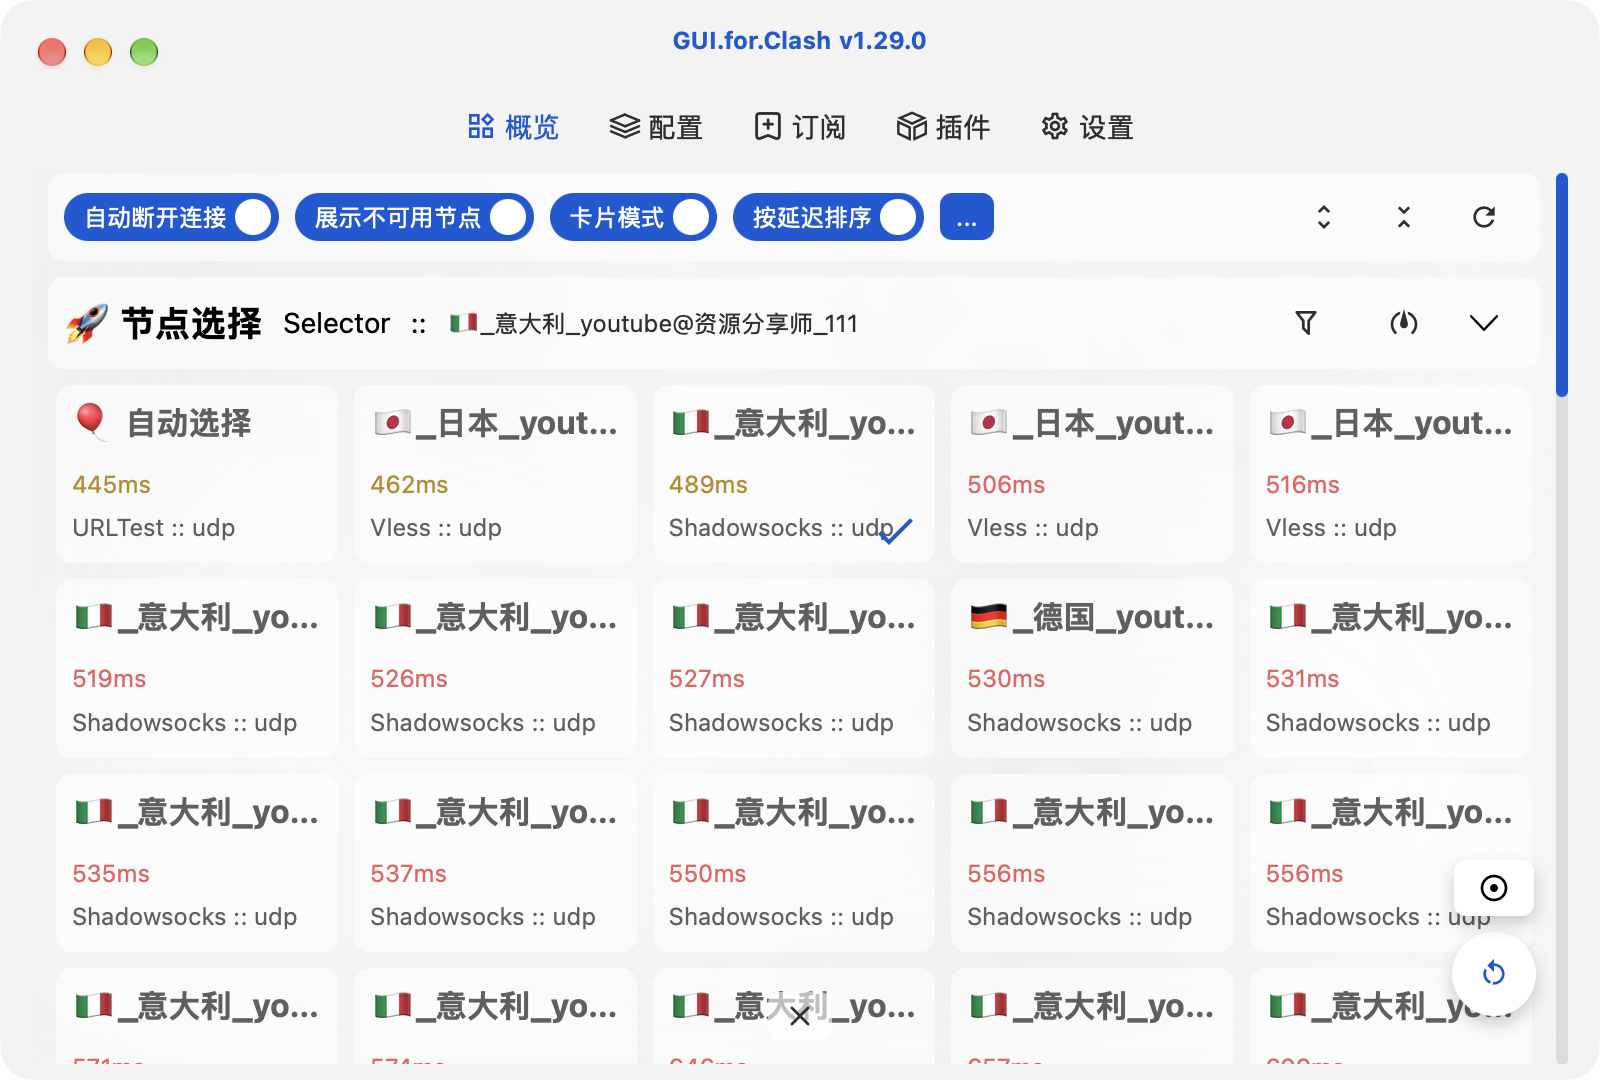
After startup, click 控制器 (Controller). Expand a policy group in the proxy panel and click a working node, or keep the profile’s automatic policy.
Step 07Enable system proxy
Return to 概览 (Overview), select 规则 (Rule) → enable 系统代理 (System Proxy). In a browser that follows the OS proxy, first open a site you can normally access directly, then one that needs the proxy. Check the connection records.
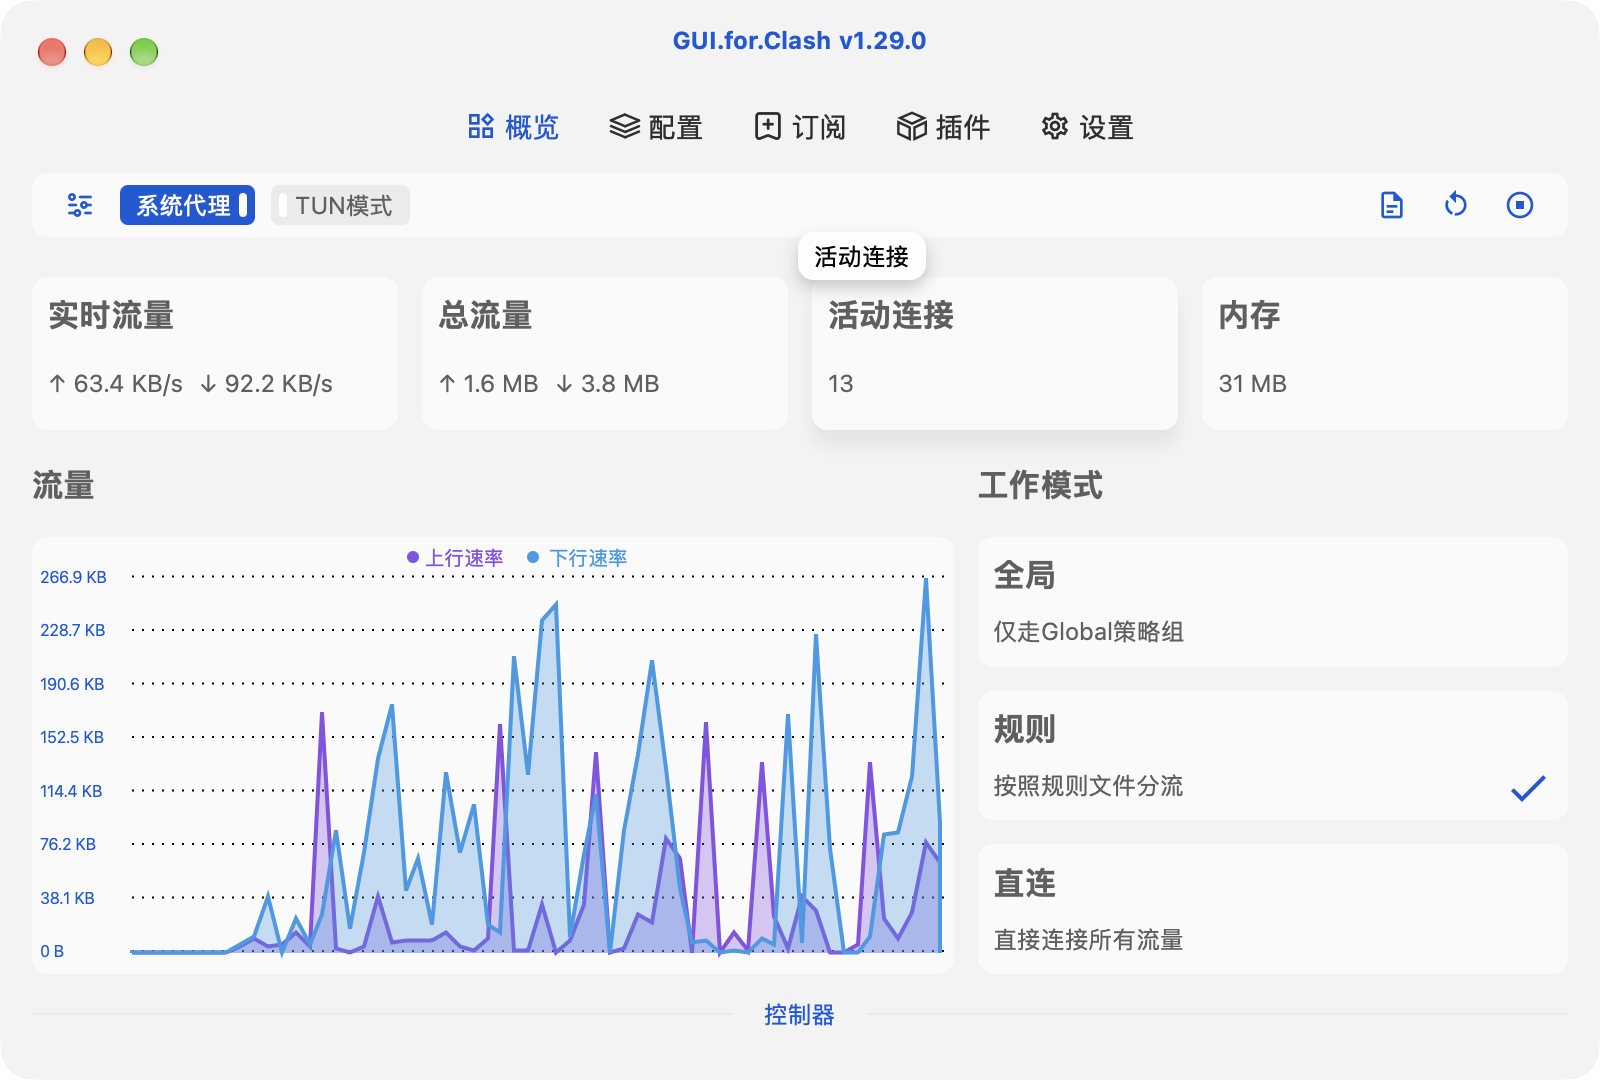
If normal access fails, turn off the active system proxy or TUN and reopen a normally accessible site to check recovery.
Step 08Proxy modes explained
In 概览 (Overview), choose 规则 (Rule), 全局 (Global) or 直连 (Direct):
Rule follows the profile rules to a proxy group, direct access or rejection. Use it for everyday routing.
Global skips routing rules and uses the current proxy or policy in GLOBAL. Selecting DIRECT still goes direct. For troubleshooting, choose a working node to test, then return to Rule.
Direct reaches the destination without a proxy node. It does not stop the core or turn off system proxy.
Start the core, then send app traffic through 系统代理 (System Proxy) or TUN模式 (TUN Mode) to GUI.for.Clash. Modes only choose the outbound for received requests; they do not capture other apps automatically.