

Step 01Download and install
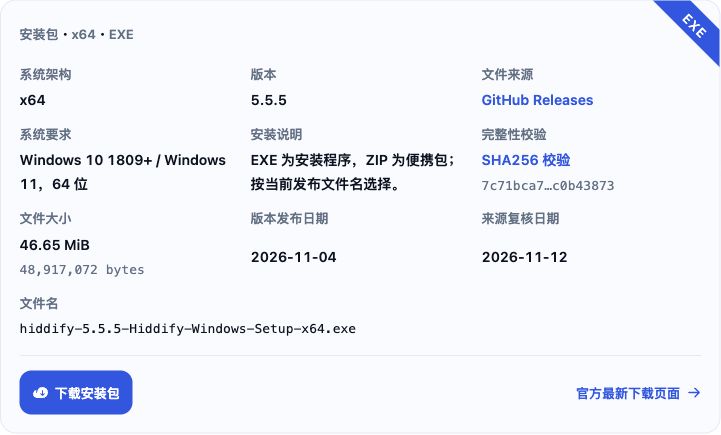
Windows: Open this site’s download page and download the Windows EXE. Run the installer, follow the wizard, then launch Hiddify.
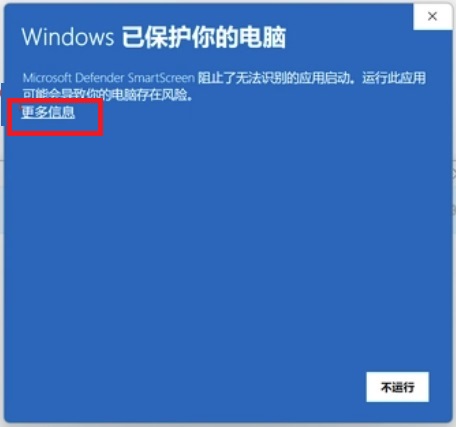
Windows installation note: If User Account Control appears, confirm that it is the Hiddify installer you just downloaded and select 是 (Yes). If Windows 已保护你的电脑 (Windows protected your PC) appears, confirm the source and click 更多信息 (More info). The image below is a generic Windows prompt example.
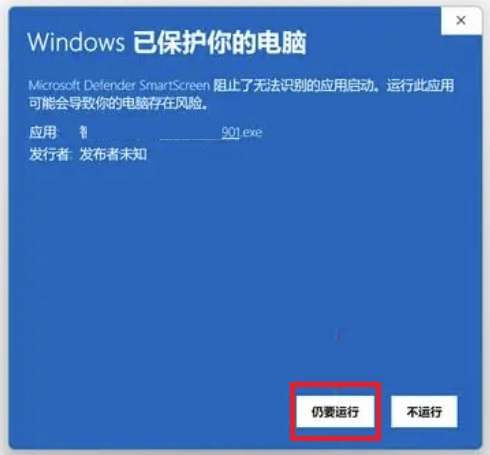
In the expanded prompt, click 仍要运行 (Run anyway) to continue installation.
If launch fails with a missing MSVCP140.dll error, download and install the Microsoft Visual C++ x64 Redistributable, then relaunch Hiddify.
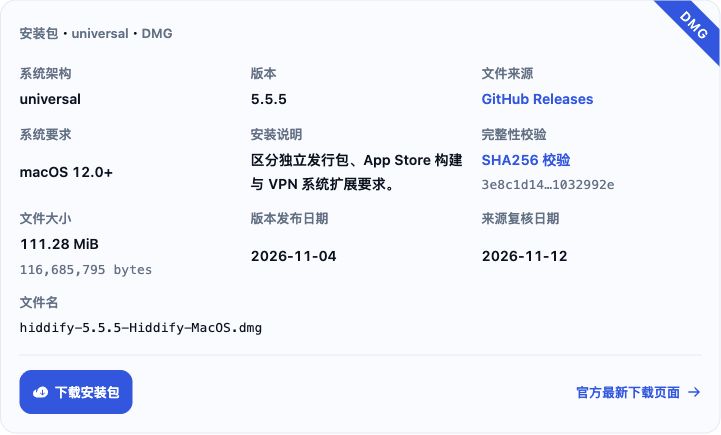
macOS: Open our download page and download the universal DMG in the macOS section. Open the DMG, install Hiddify in Applications, then launch it. macOS 12.0 or later is required.
If the first launch shows the warning below, click 完成 (Done).
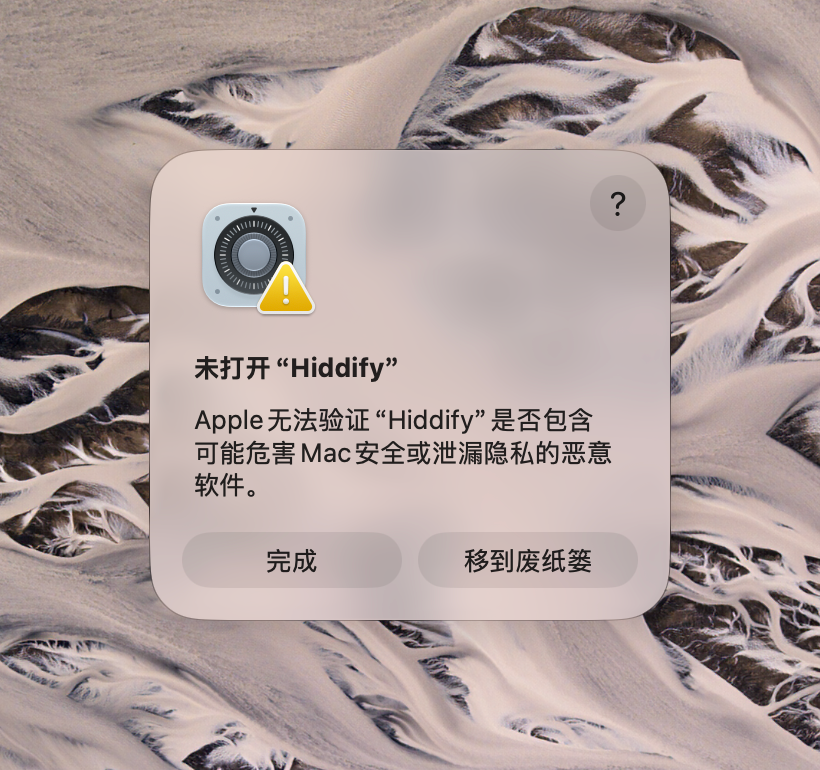
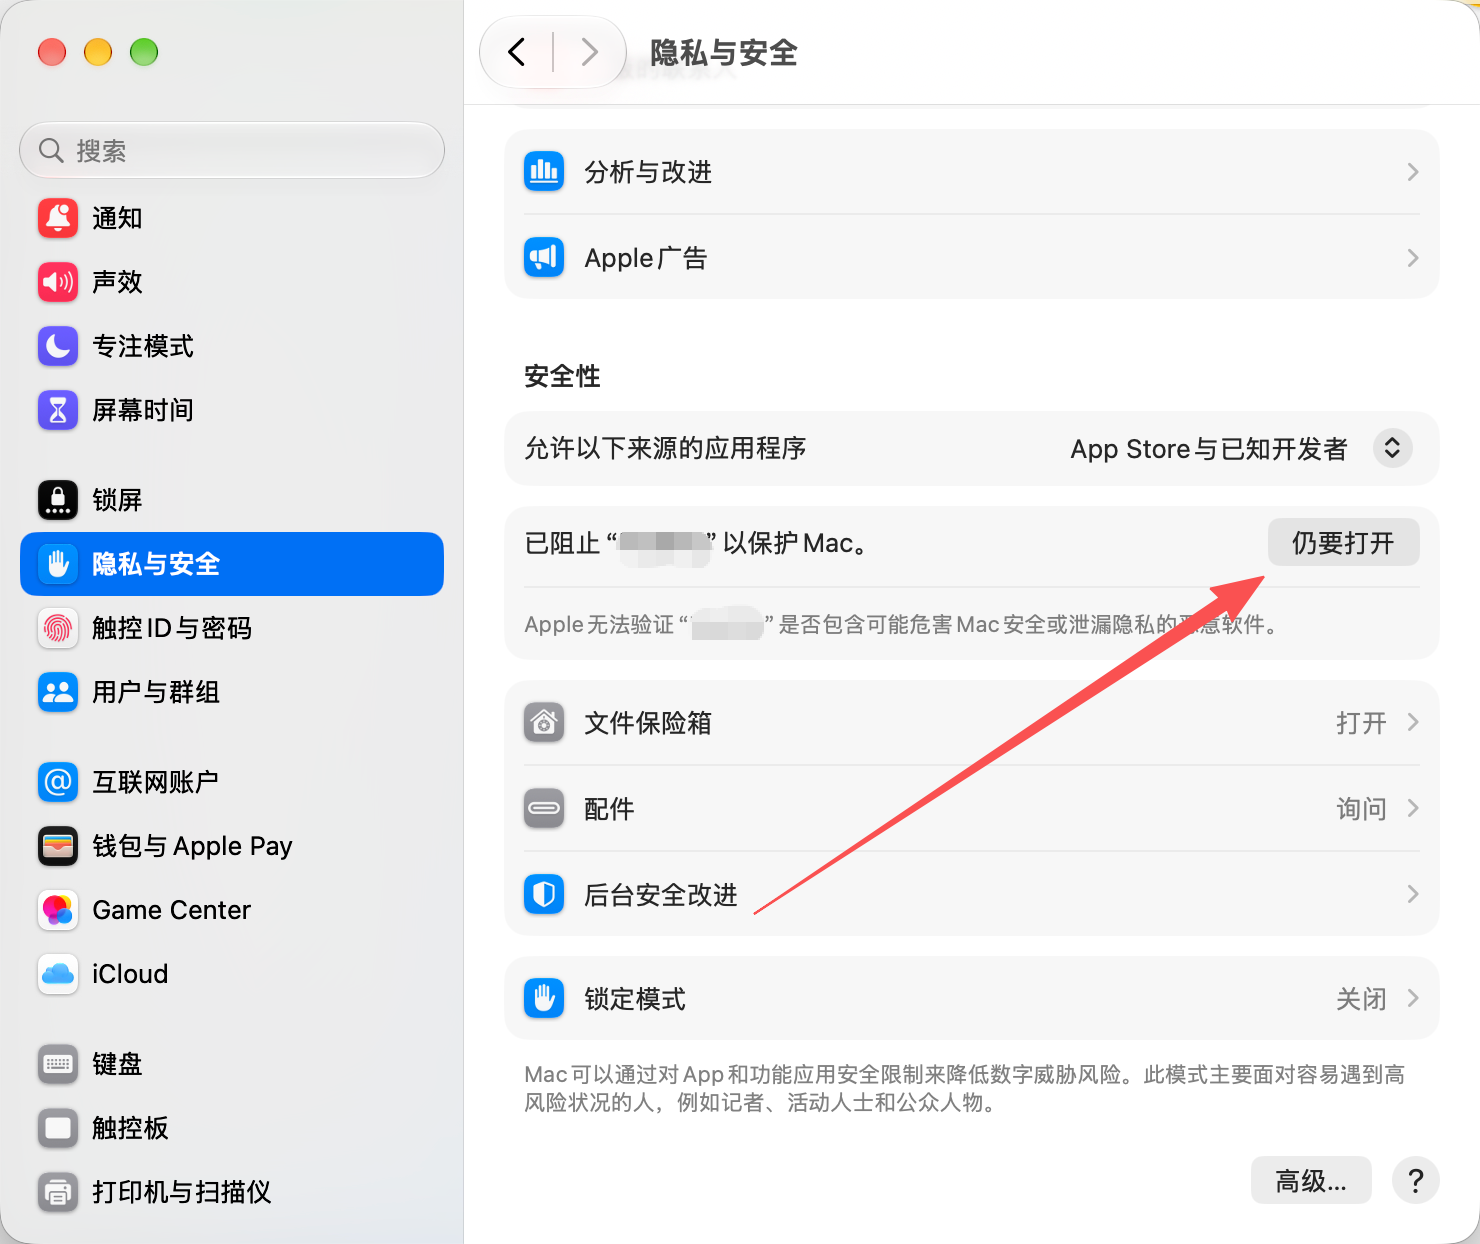
After checking the installer source, open 系统设置 (System Settings) → 隐私与安全 (Privacy & Security) → 仍要打开 (Open Anyway) → 打开 (Open), then launch Hiddify. See the macOS opening-alert guide.
Step 02Set language and region
On first launch, choose Chinese under 语言 (Language) and your actual region under 地区 (Region). Set 开启分析 (Enable analytics) as preferred, then click 开始 (Start). The region affects default routing.

Step 03Get a subscription
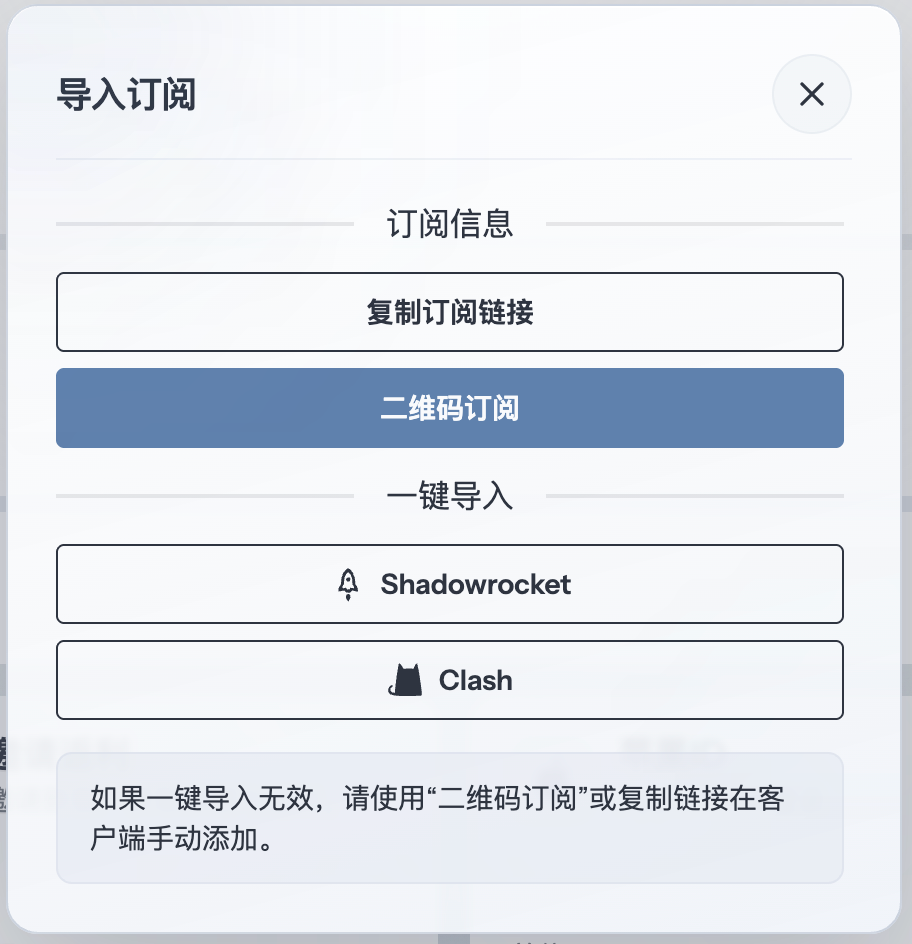
Copy the URL for a subscription supported by your current Hiddify app from your provider's dashboard. Using 畅连 as an example, open the subscription import window and click “复制订阅链接” (Copy subscription link).
Step 04Add a subscription
On 主页 (Home), click the top-right + → 剪贴板 (Clipboard) to import the copied subscription URL.
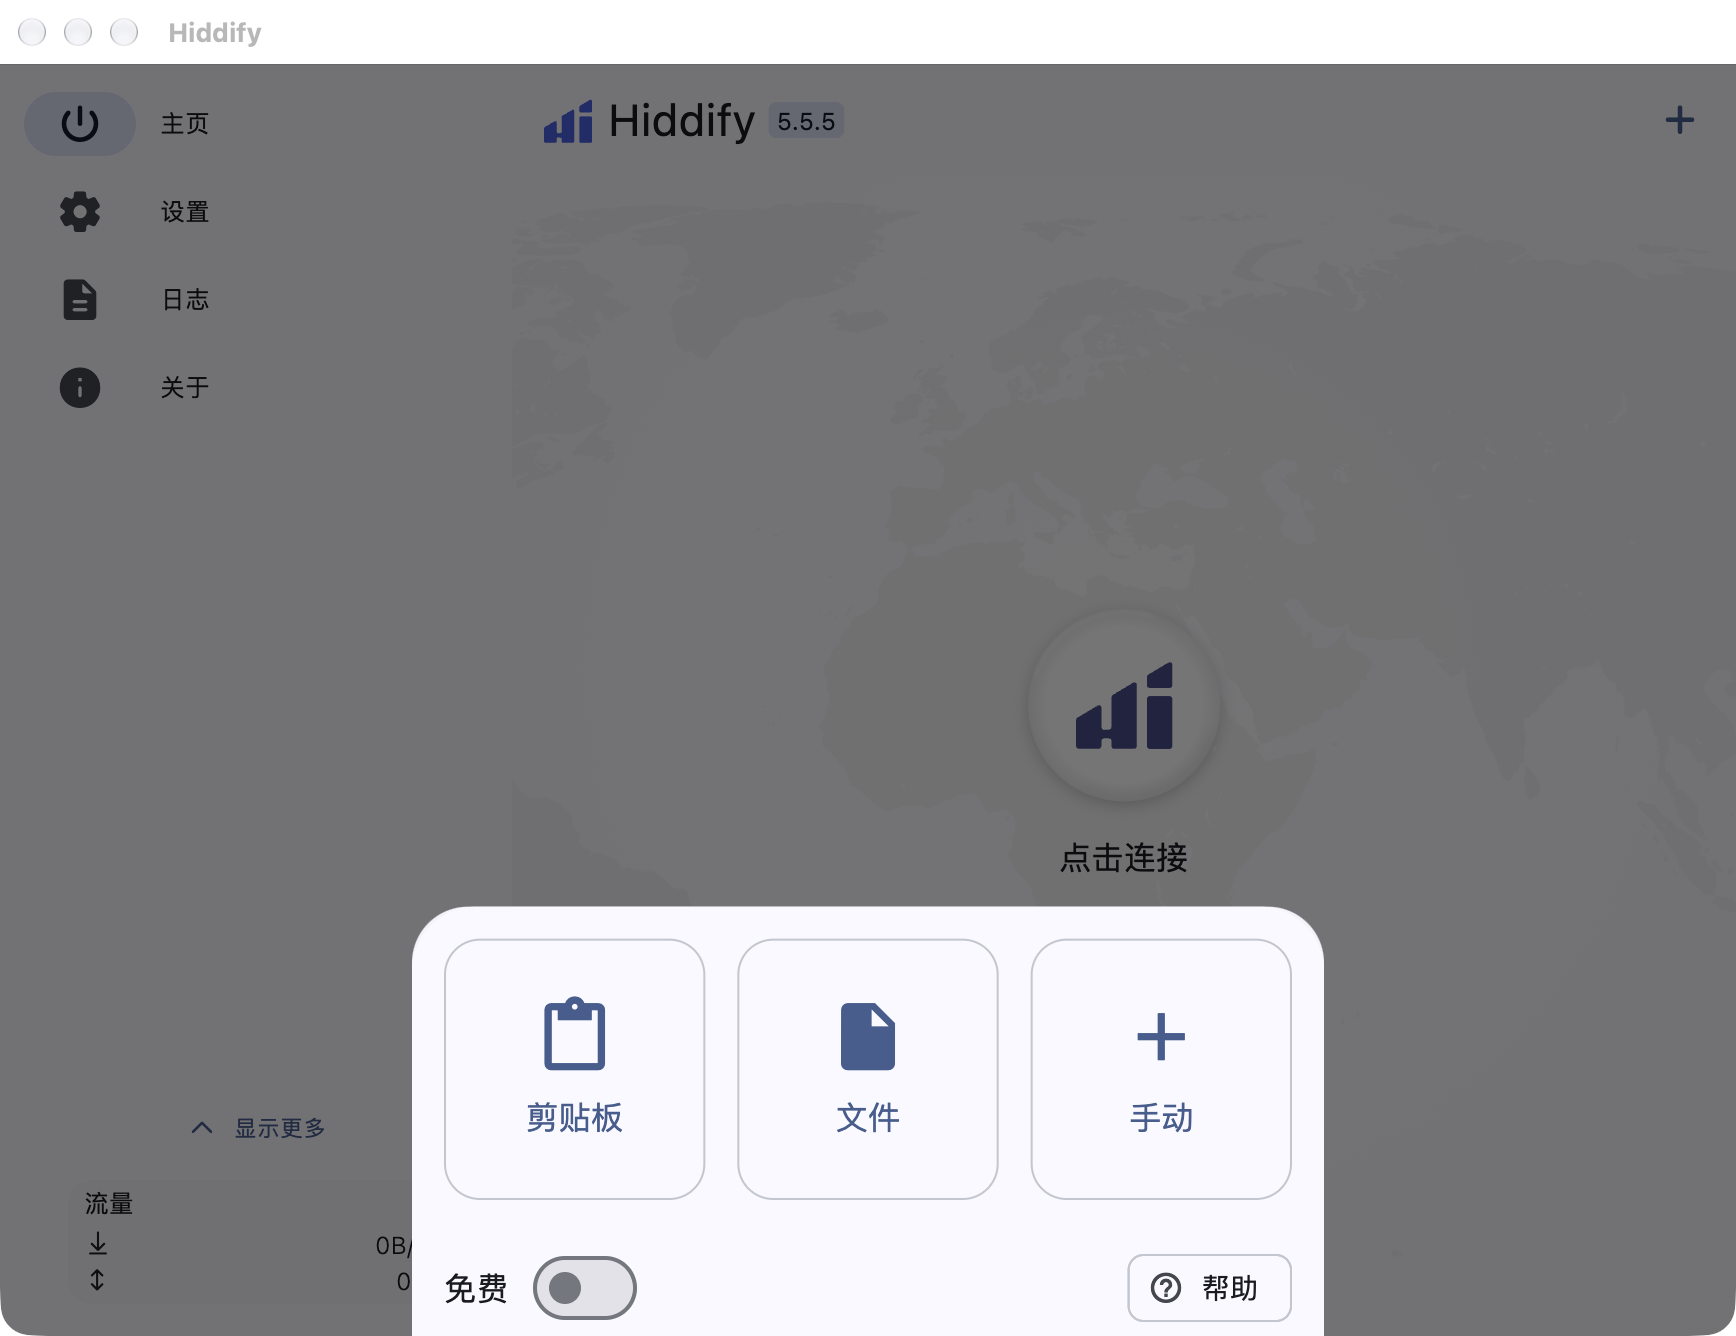
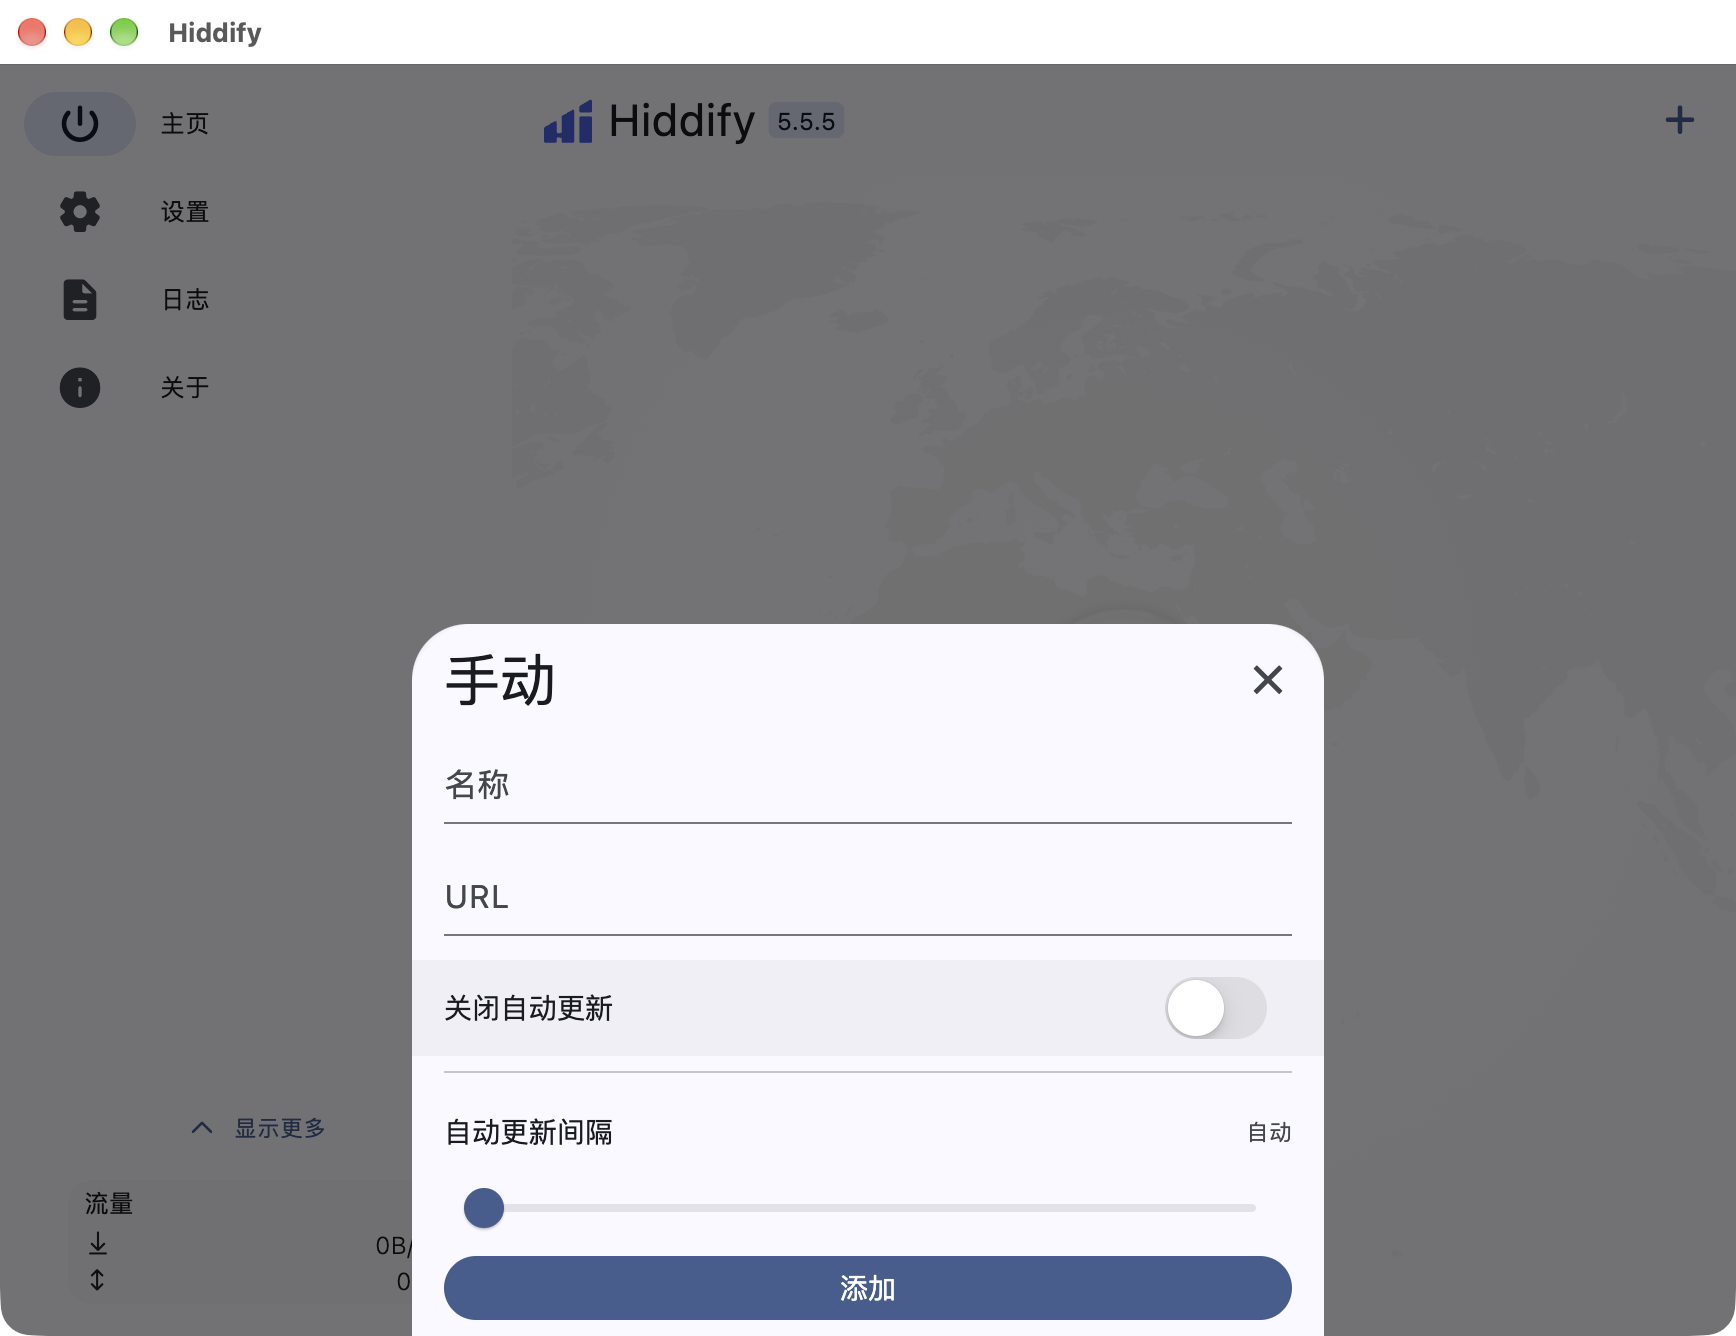
Alternatively, choose 手动 (Manual), enter a 名称 (Name), paste the subscription address into URL and click 添加 (Add).
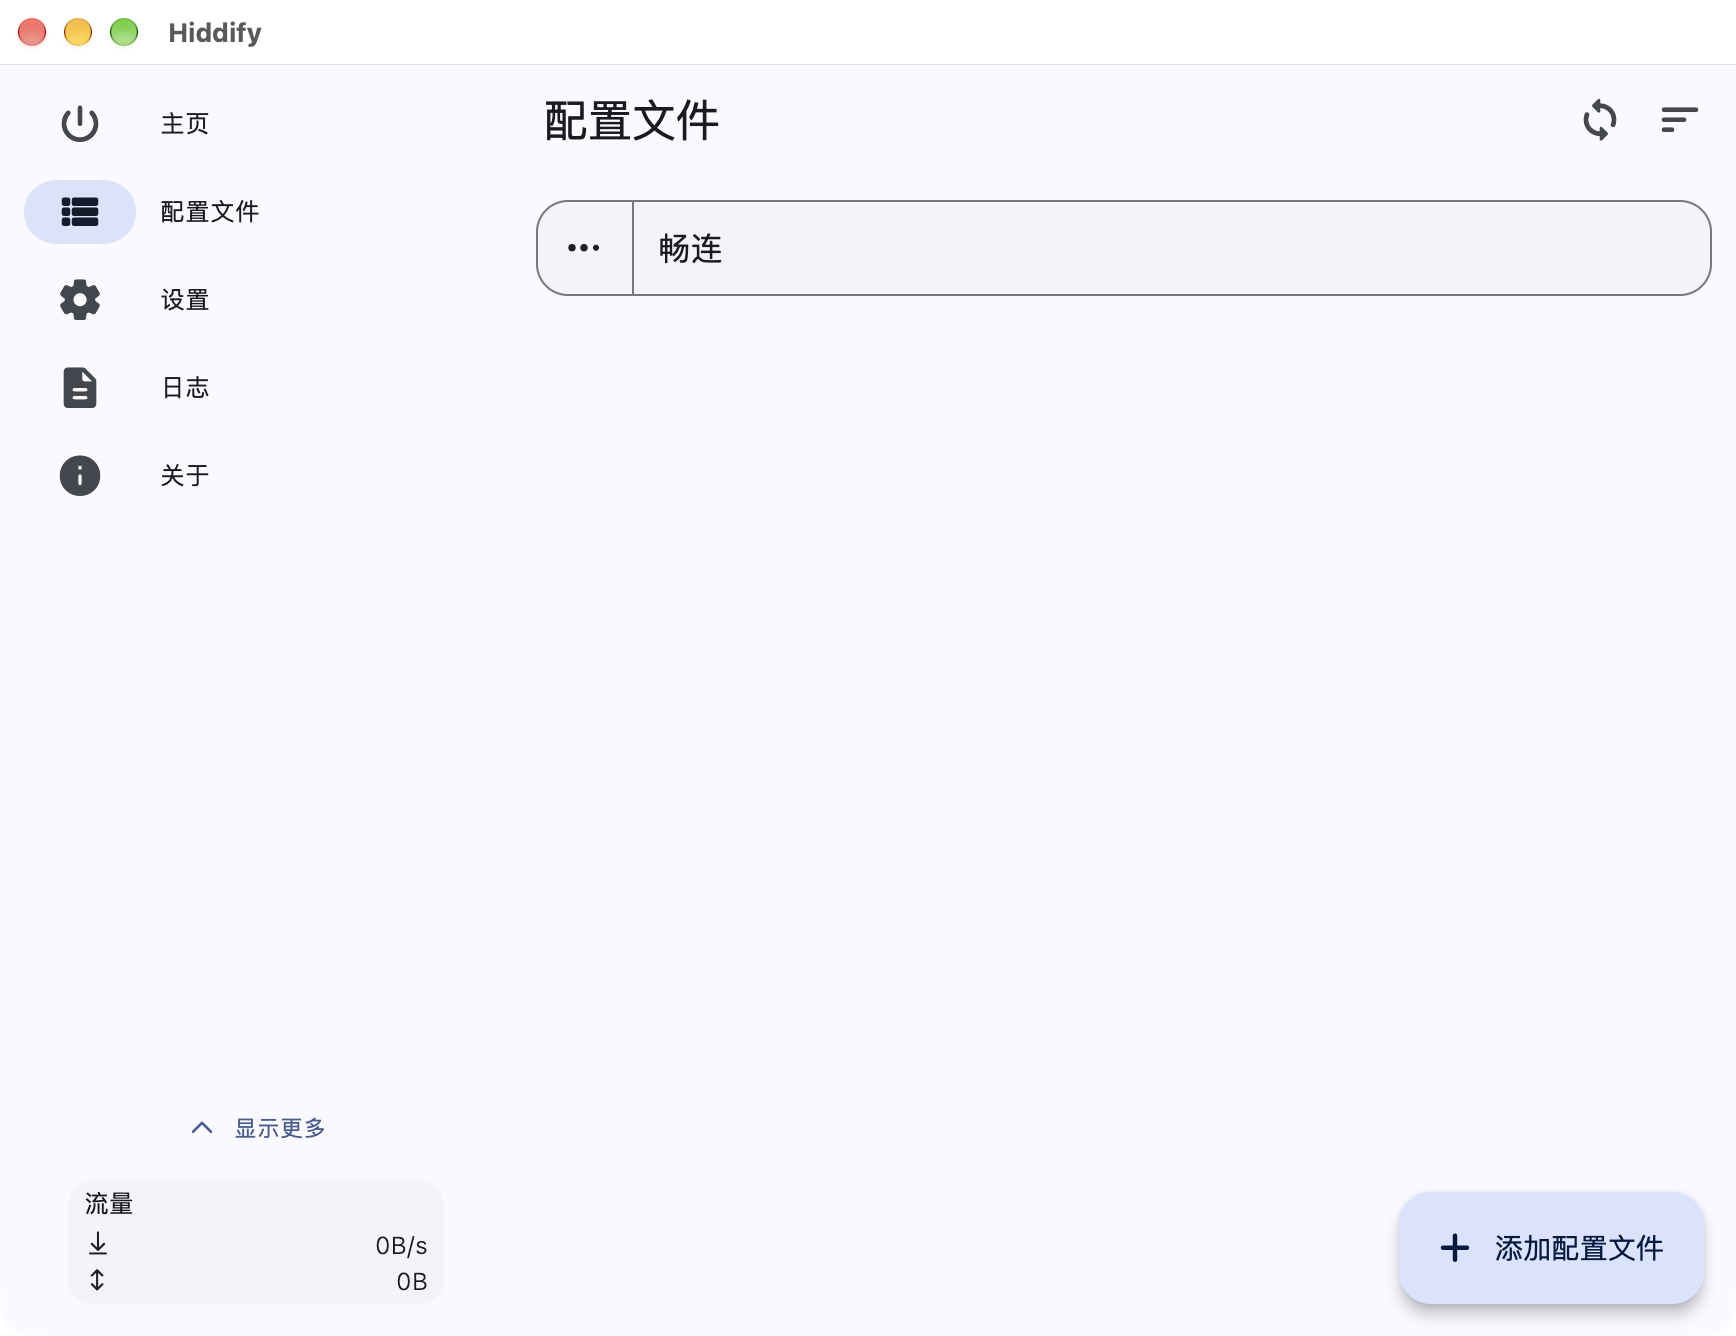
Open 配置文件 (Profiles), click the imported profile to select it, then return to 主页 (Home).
Step 05Set the system proxy
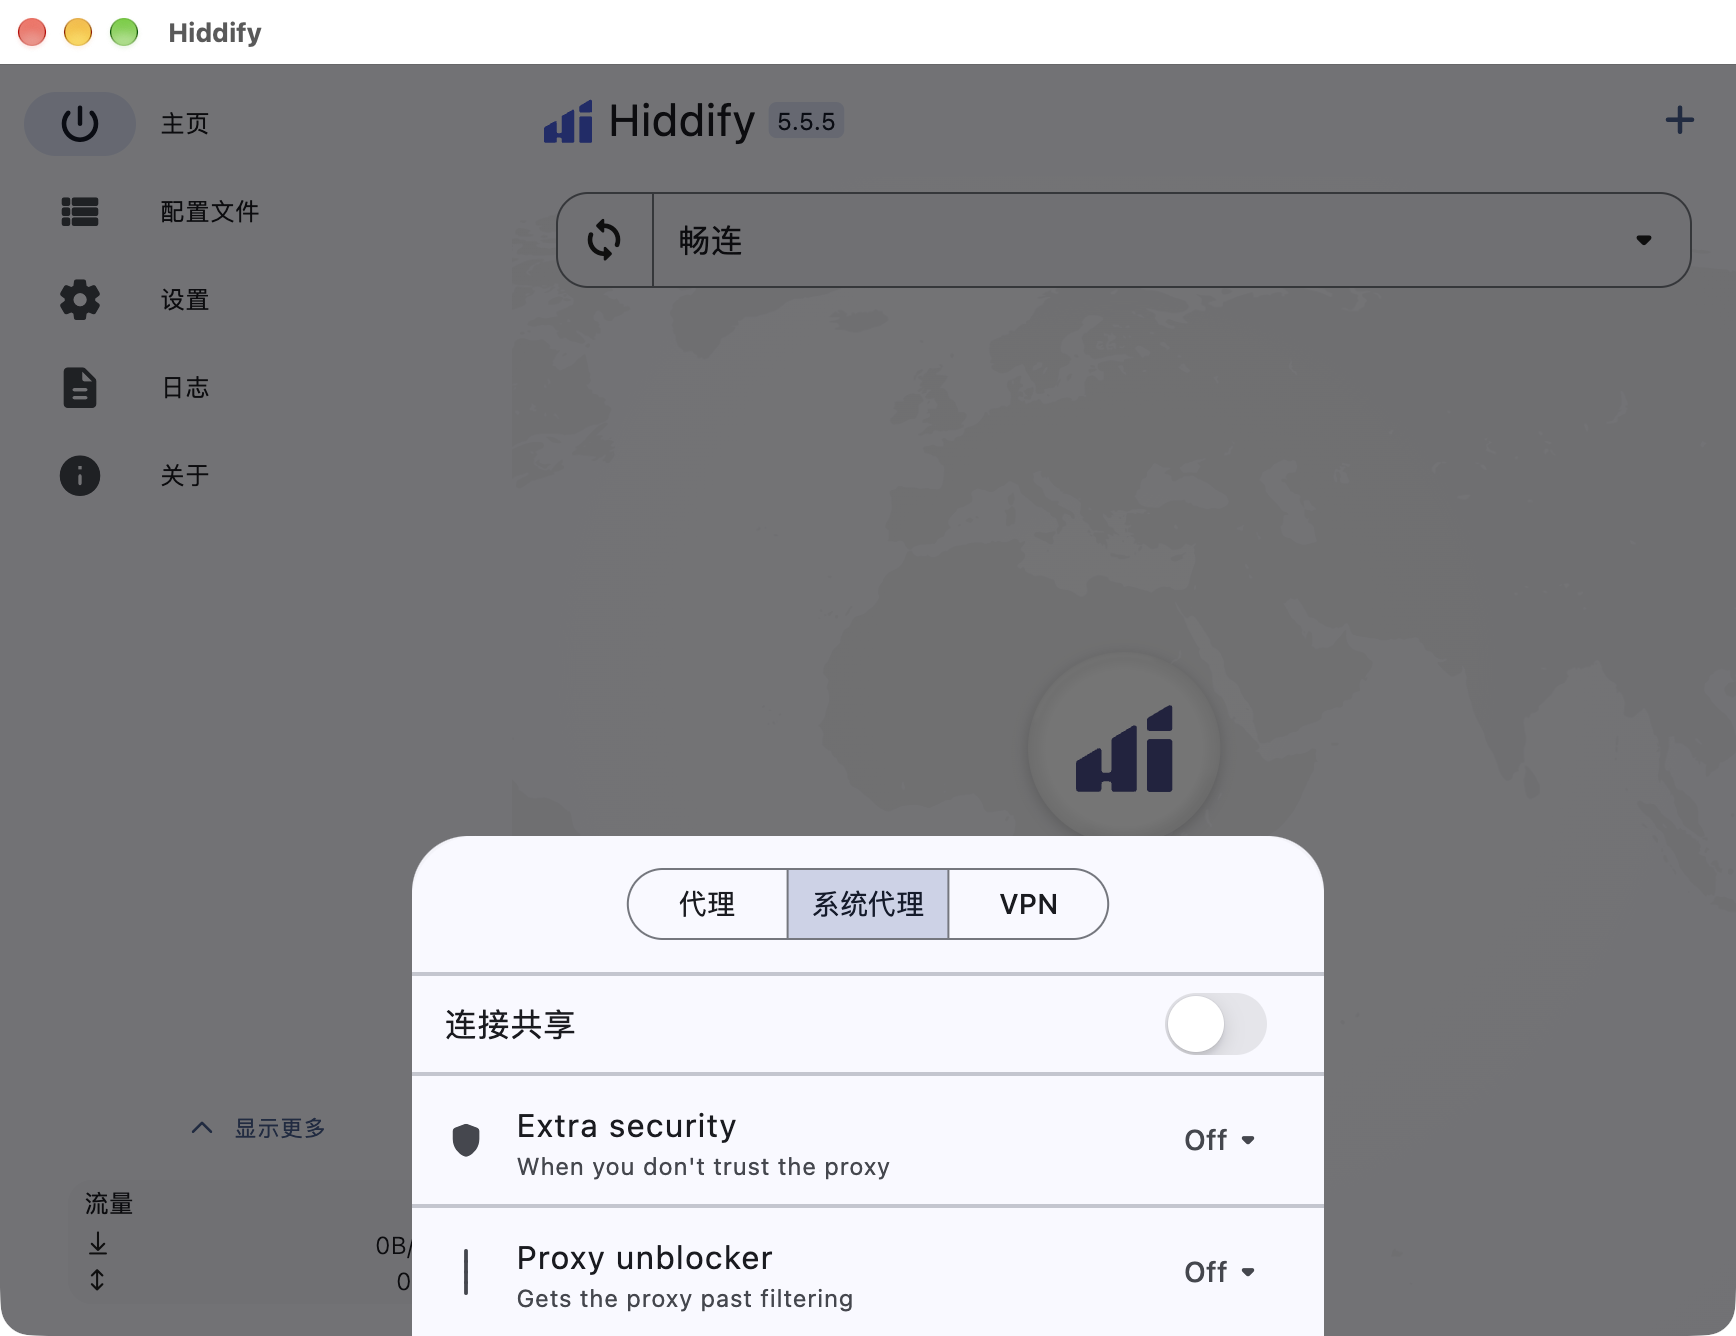
Return to 主页 (Home) → click 快速设置 (Quick settings) at the bottom → select 系统代理 (System proxy).
Step 06Start the connection
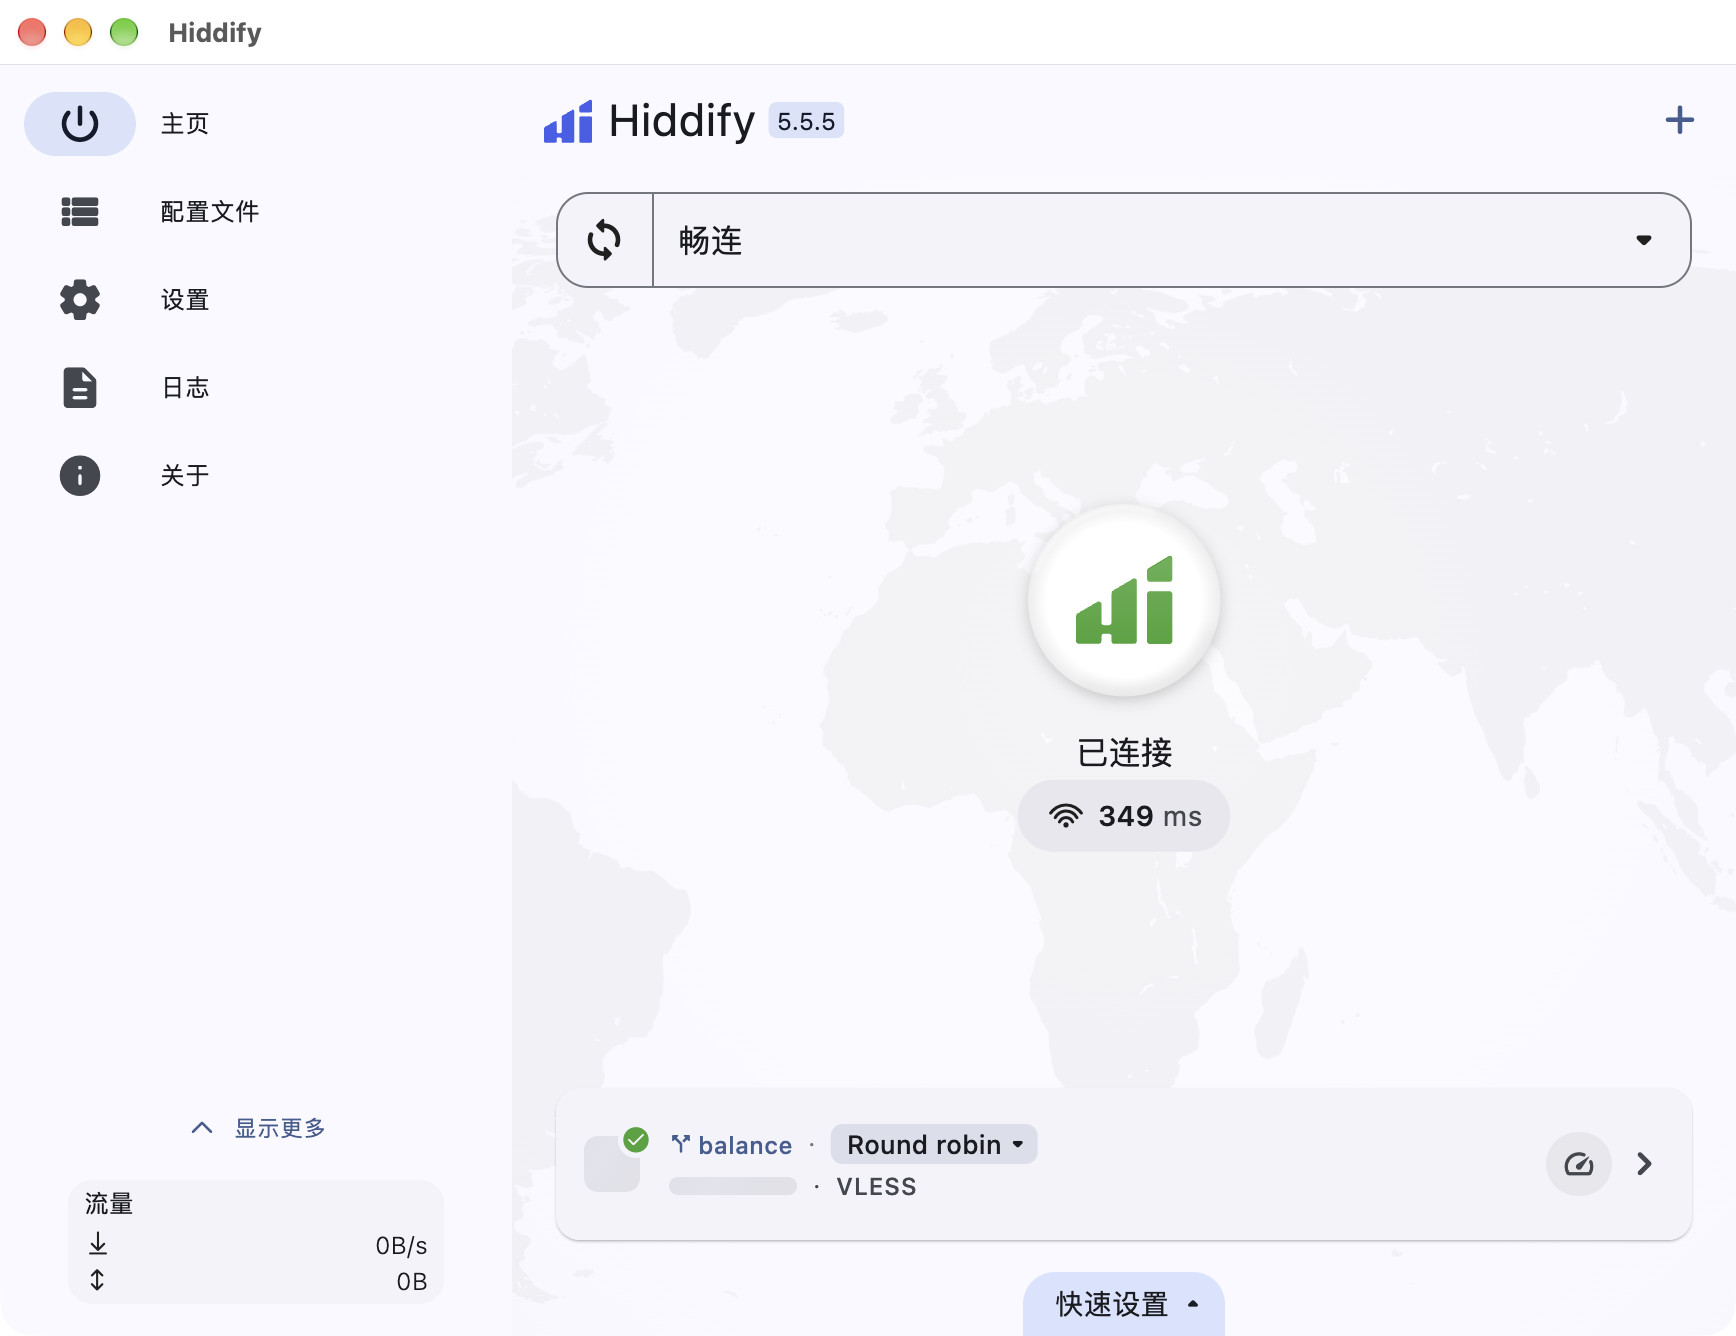
Disconnect other proxies or VPNs. Return to 主页 (Home), check that your imported profile is selected, then click the central 点击连接 (Click to connect) button and wait for the connection.
When the status changes to 已连接 (Connected), continue to server selection and access checks.
Step 07Select a server and check access
After connecting, click the right arrow on the active proxy card at the bottom of Home → open the 代理 (Proxies) list → select a working server. A blue background marks the selected server.
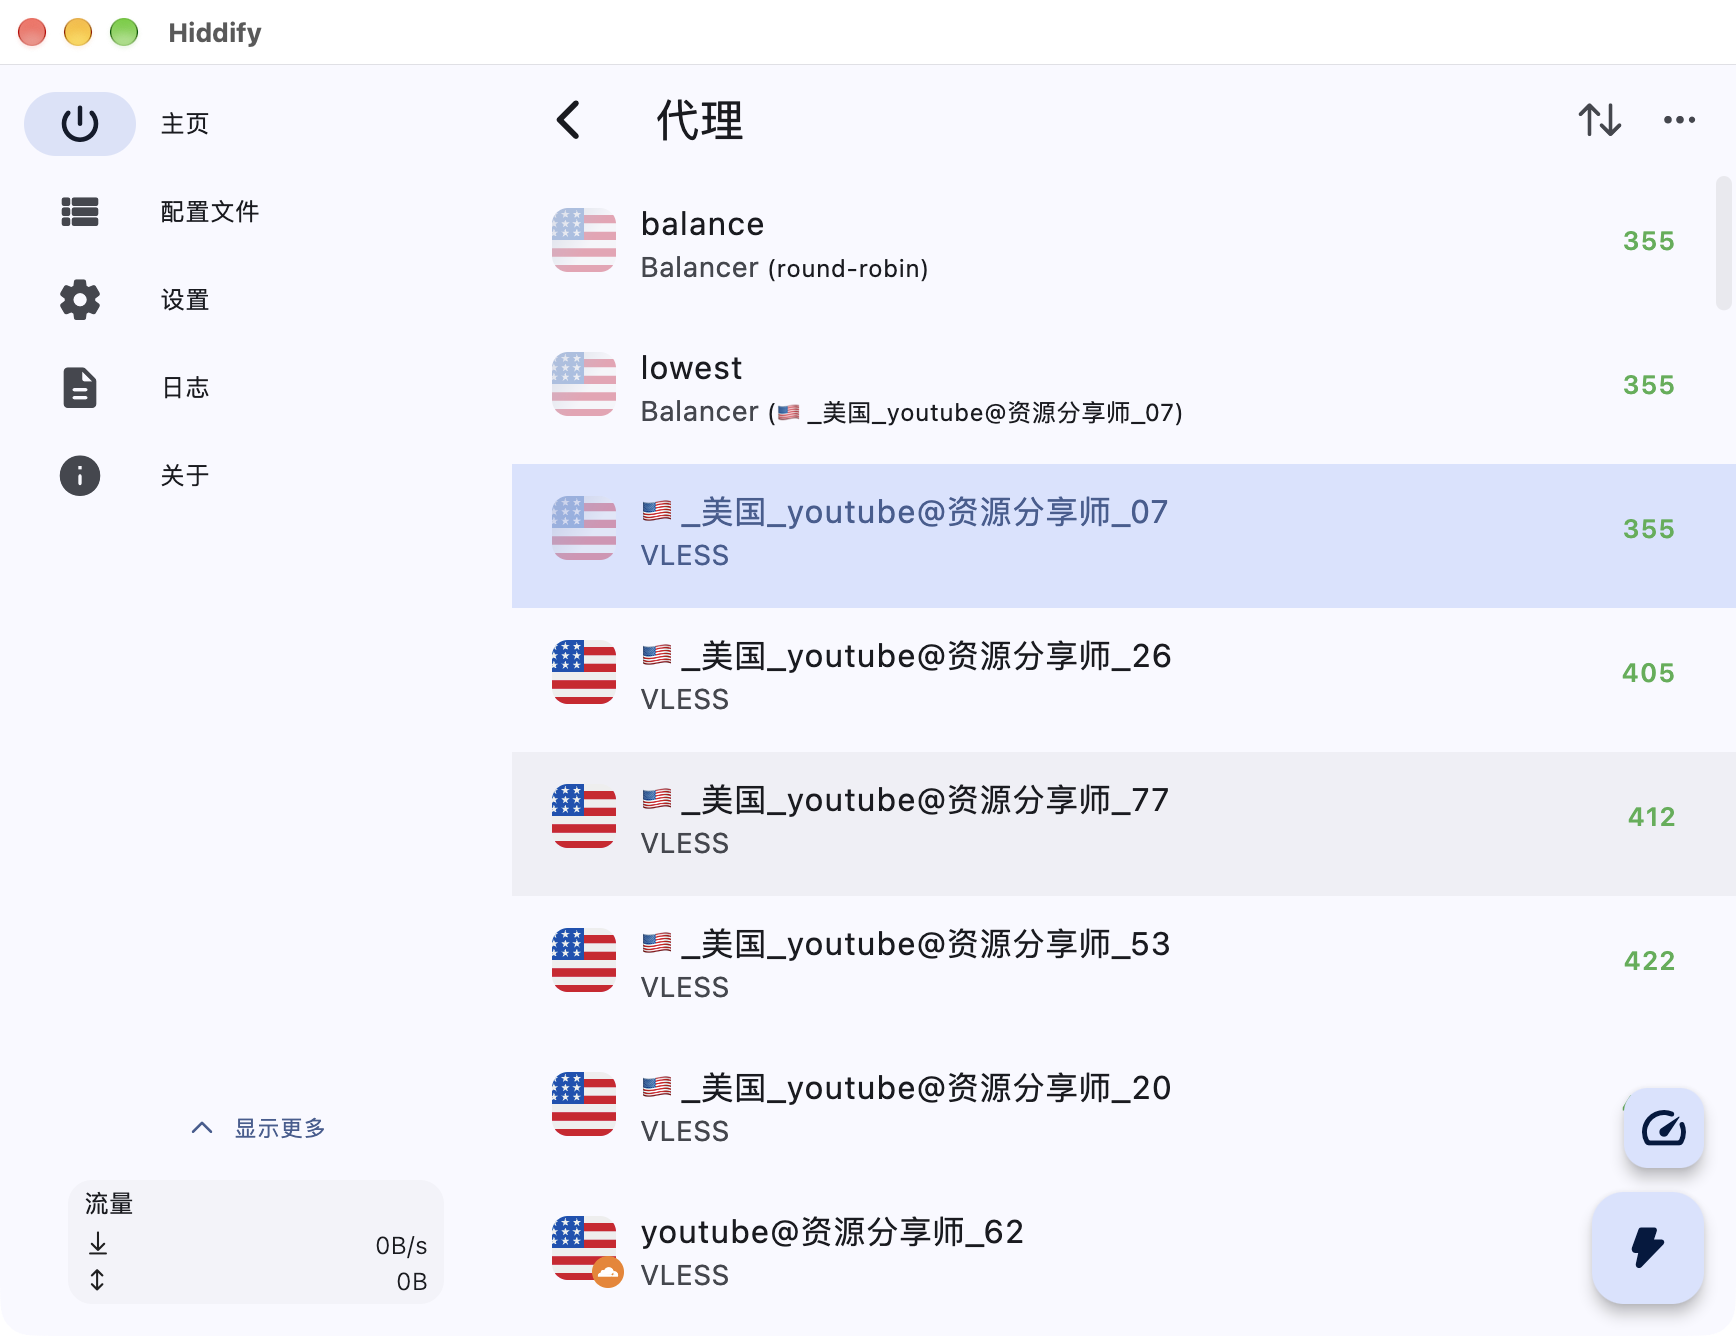
In a browser that honors the system proxy, open a site you normally reach directly, then one that needs the proxy. If access fails, try another server. To stop, return Home and click the connection button again.
Step 08Proxy modes explained
Choose traffic capture in 设置 (Settings) → 入站 (Inbound) → 服务模式 (Service mode):
仅代理服务 (Proxy only): Opens a local proxy port. Configure the proxy manually in each app that needs it.
设置系统代理 (Set system proxy): Sets the macOS system proxy; only apps that honor it use it. This is the starting mode in this guide.
VPN: Captures traffic within its scope. On first use, install the requested background service or authorize the network extension, then reconnect. The Mac App Store build has no system-proxy option.
In 路由 (Routing), the 代理 (Proxy), 直连 (Direct) and 拦截 (Block) actions choose the outbound for matched requests. They do not expand the service mode’s capture scope.