

Step 01Download and install
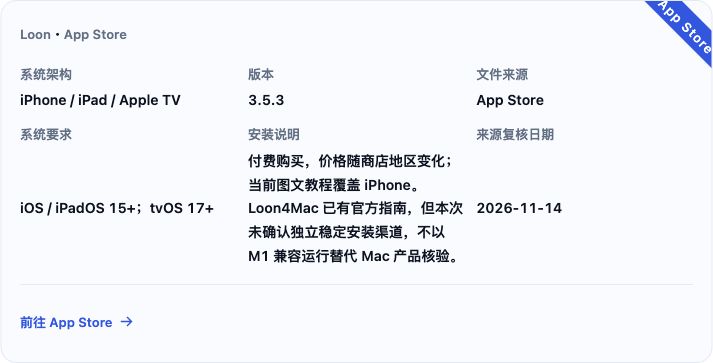
Open this site’s download page → iOS → App Store, purchase and install Loon, then turn off other VPNs.
Step 02Get a subscription
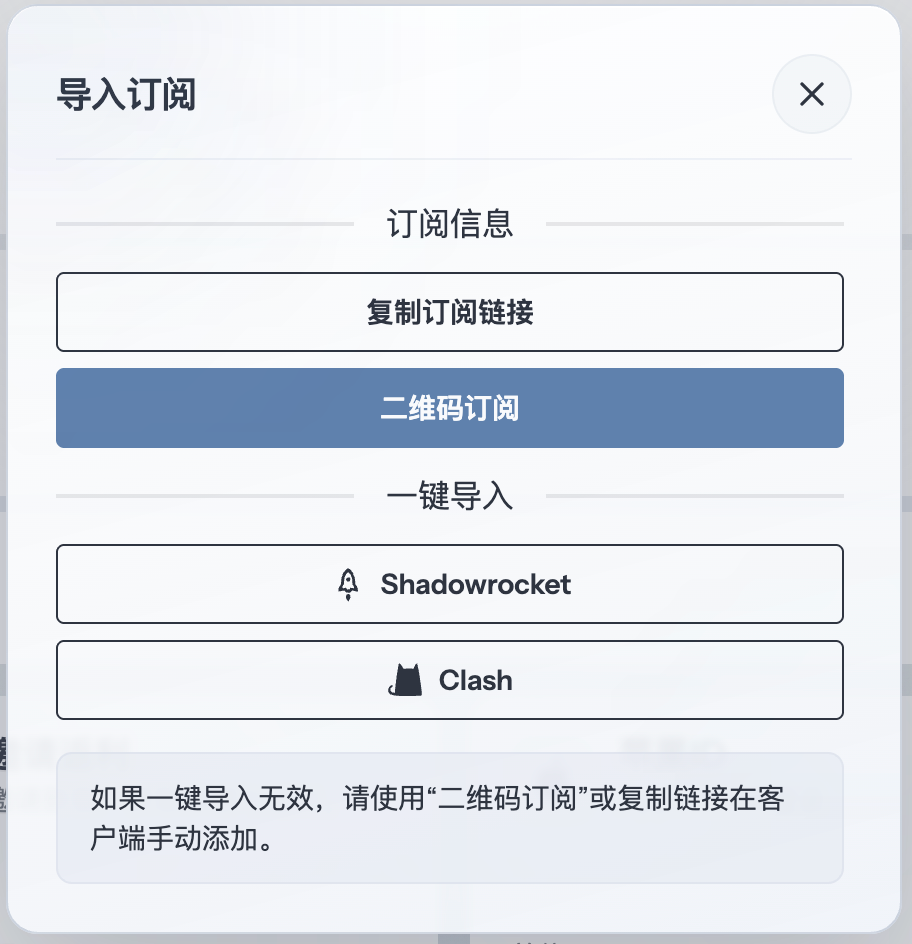
Copy the URL for a Loon-compatible node subscription from your provider's dashboard. Using 畅连 as an example, open the subscription import window and click “复制订阅链接” (Copy subscription link).
Step 03Add a subscription
In 仪表 (Dashboard), tap 节点 (Nodes) and open 添加订阅 (Add Subscription). Enter a name in 别名 (Alias), paste the subscription link into URL, then tap the top-right checkmark to save.
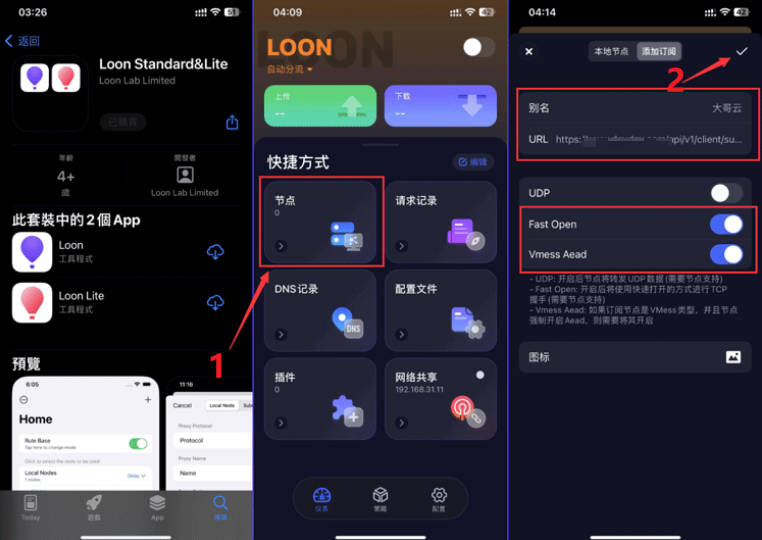
Return to 仪表 (Dashboard) and wait for the node count to update.
Step 04Start the proxy
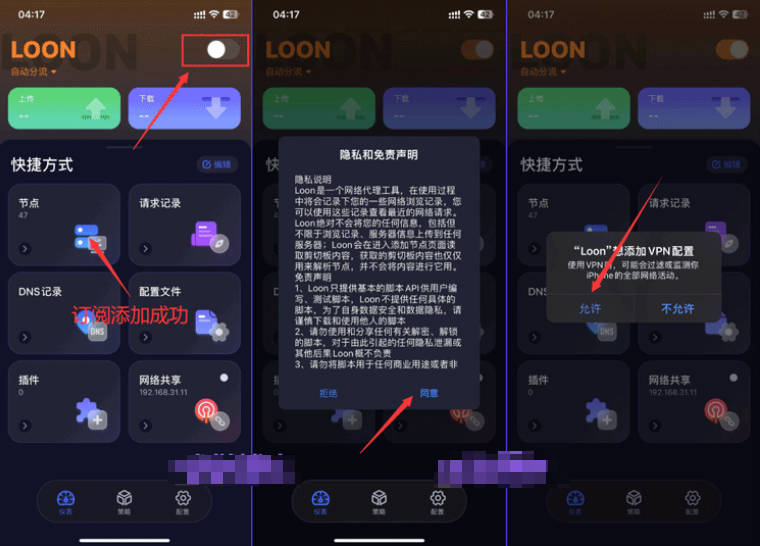
Turn on the switch at the top right of 仪表 (Dashboard). If 隐私和免责声明 (Privacy and Disclaimer) appears on first use, read it and tap 同意 (Agree). In the system VPN prompt, tap 允许 (Allow), then complete device authentication as prompted.
Step 05Switch nodes
Tap 策略 (Policy) at the bottom and expand the group you want to change (HK in the example). Tap 延迟测试 (Latency Test), then choose a working node.
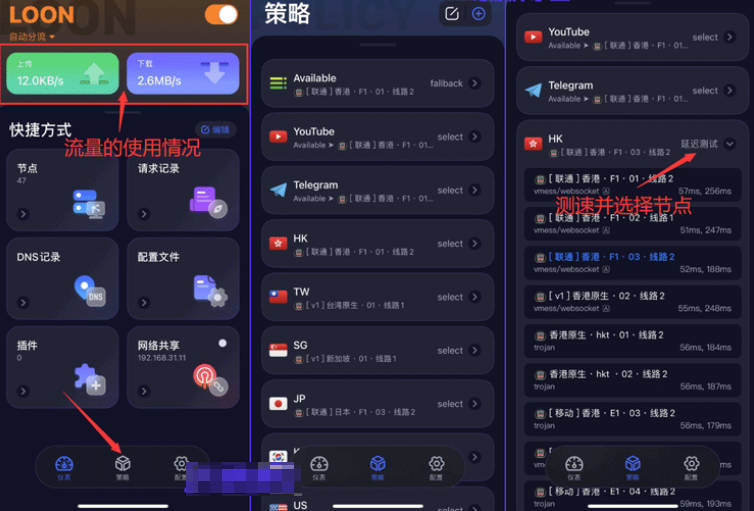
If the new subscription is missing from the target group, edit that group, add the subscription as a member and check that the proxy rules reference the group. Automatic policy groups follow their configuration.
First open a website you can normally access without a proxy, then one that requires a proxy, and check that both work.
Step 06Proxy modes explained
In 仪表 (Dashboard), tap the current mode at the top left (自动分流, Rule-Based Routing, in the example). Choose a mode in 流量模式 (Traffic Mode):

自动分流 (Rule-Based Routing): Follow the profile’s rules to select a policy, then use a proxy node, direct access or rejection.
全局代理 (Global Proxy): Skip individual routing rules and use the globally selected node or policy. Selecting DIRECT still means direct access.
全局直连 (Global Direct): Connect to the destination without a proxy node.
Use 自动分流 (Rule-Based Routing) for everyday use. Modes apply only to traffic passed to Loon; the connection switch must still be on and VPN permission allowed. To stop, turn off the top-right switch.